
A Comprehensive Guide on How to Use It
PPR pipe welding machines are essential tools for joining plastic pipes in plumbing and heating systems. These machines use heat and pressure to fuse the pipes together, creating a strong and leak-proof joint. While the process of using a PPR pipe welding machine may seem daunting at first, with some basic knowledge and practice, anyone can learn how to use one effectively.
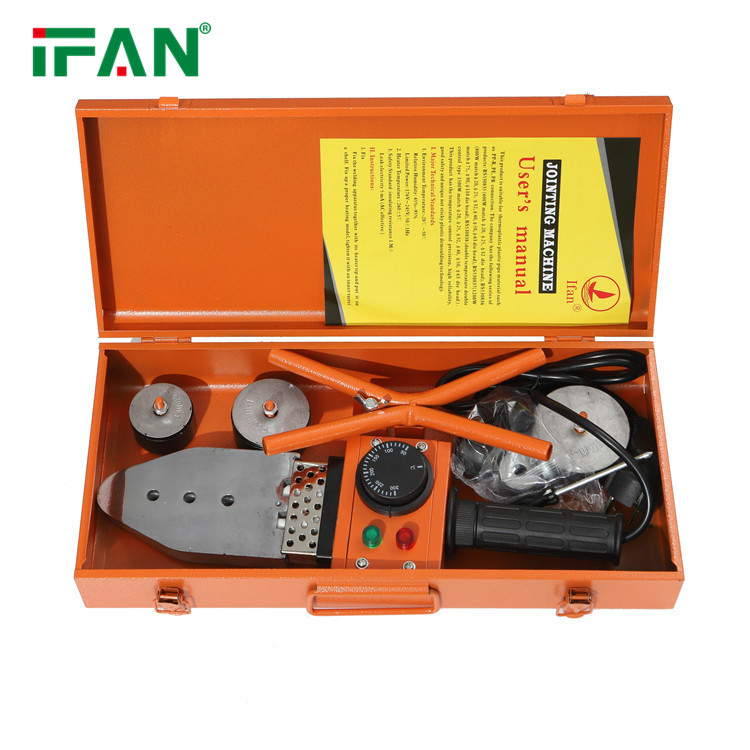
Before using a PPR pipe welding machine, it is important to understand the components of the machine and how they work together. The machine consists of a heating element and a clamping device. The heating element heats up the ends of the pipes to be joined, while the clamping device holds the pipes in place and applies pressure to fuse them together. It is crucial to ensure that the pipes are cut straight and clean before using the machine, as any debris or rough edges can compromise the integrity of the joint.
Safety Precautions
When using a PPR pipe welding machine, it is important to prioritize safety precautions to prevent accidents and injuries. This section will outline some of the key safety measures that should be taken when using a PPR pipe welding machine.
use a PPR pipe welding machine
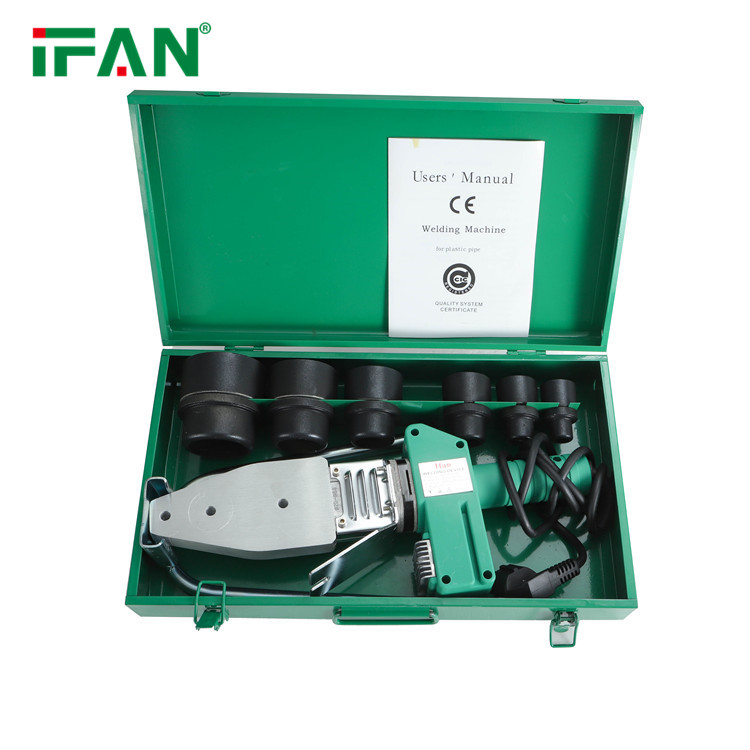
- Prepare the PPR pipes and fittings: Cut the pipes to the desired length, clean them with a cloth or brush, and insert the fittings into the pipes.
- Set up the welding machine: Place the machine on a flat surface, connect it to a power source, and turn it on. Adjust the temperature according to the manufacturer’s instructions based on the thickness of the pipe and fitting.
- Heat the welding plates: Wait for the welding machine to heat up, then place the welding plates on the machine and wait for them to reach the desired temperature.
- Weld the pipes and fittings: Place the prepared pipes and fittings between the heated welding plates, aligning them properly. Hold them in place until the welding process is complete, which typically takes a few seconds to a minute depending on the size of the pipe and fitting.
- Cool and remove the welded joint: After the welding is complete, let the joint cool for a few seconds, then remove it from the welding machine. Check the joint to ensure it has fused properly.
- Repeat the process: Repeat steps 3-5 for each joint until all the pipes and fittings have been connected.
It’s important to follow the manufacturer’s instructions for your specific PPR pipe welding machine to ensure safe and effective use. Additionally, be sure to wear appropriate safety gear, such as gloves and eye protection, while using the machine.