
what is IFAN PPR Pressure test pump?
A PPR pressure test pump is a specialized device used to test the integrity and strength of PPR (Polypropylene Random Copolymer) pipes and fittings. PPR pipes are commonly used in plumbing and heating systems due their durability, corrosion resistance, and ability to withstand high temperatures.
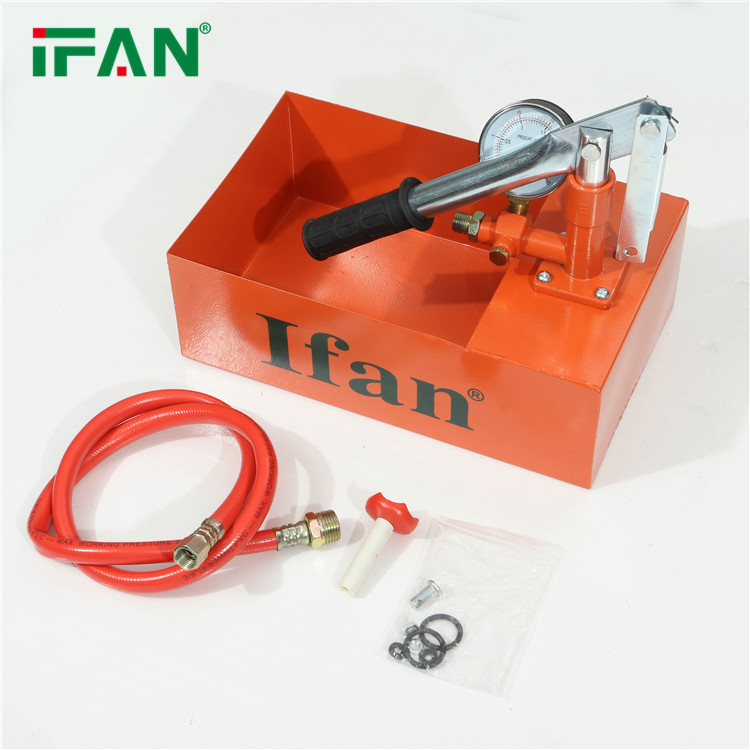
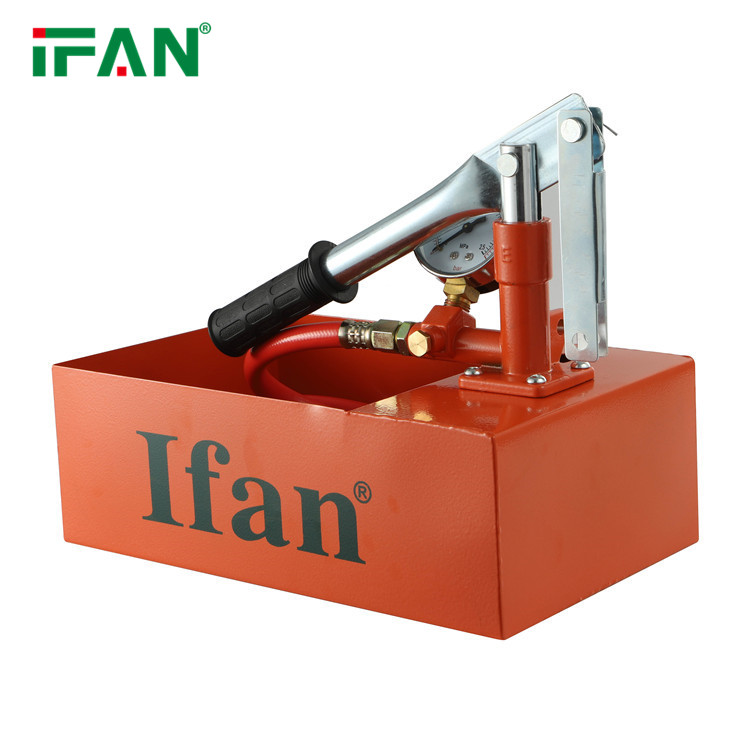
The pressure test pump is designed to create hydraulic pressure within the PPR system to check for any leaks or weaknesses. It typically consists of a manual or electric pump, a pressure gauge, and connecting hoses. The pump is connected to the PPR system, and water or another suitable testing medium is pumped into the system to increase the pressure.
During the pressure test, the pressure gauge indicates the level of pressure being applied to the PPR system. The system is pressurized to a predetermined level, and it observed whether the pressure remains stable drops over a specific period. the pressure drops, it indicates the presence of leaks or faults in the PPR pipes or fittings.
PPR pressure test pumps are essential tools for ensuring the quality and reliability of PPR plumbing installations. They help identify any potential issues before the system is put into operation, allowing for necessary repairs or adjustments to be made.
How to use PPR Pressure test pump?
To use a PPR (Polypropylene Random) pressure test pump, follow these general steps:
- Familiarize yourself with the pump: Read the instruction manual provided by the manufacturer to understand the specific features and operation of your PPR pressure test pump.
- Prepare the system: Ensure that the PPR pipes or fittings you want to test are properly installed and connected. Make sure all valves are closed, and any temporary plugs or caps are removed.
- Connect the pump: Attach the outlet hose of the pressure test pump to the system you want to test. Use appropriate fittings or adapters if necessary. Ensure a secure connection to prevent leaks during the test.
- Fill the pump with water: Open the inlet valve on the pump and fill it with water until it is completely primed. This step ensures that there are no air pockets in the pump, which could affect the accuracy of the pressure test.
- Set the desired pressure: Determine the pressure at which you want to test the PPR system. Most PPR pressure test pumps have a pressure gauge or a digital display to set and monitor the pressure. Adjust the pressure control knob or valve to reach the desired pressure level.
- Start the pump: Turn on the power supply the pump and activate the pump motor. The pump will start pressurizing the system.
- Monitor the pressure: Keep an eye on the pressure gauge or digital display to ensure that the desired pressure is reached and maintained. If the pressure drops significantly, there may be a leak in the system that needs to be identified and fixed.
- Inspect for leaks: Carefully inspect the PPR system for any visible leaks while the pressure test is ongoing. Look for water dripping or spraying from joints, connections, or fittings. If you detect a leak, stop the test and address the issue before proceeding.
- End the test: Once you have completed the pressure test and confirmed that the system is holding the desired pressure without any leaks, turn off the pump motor. Open the valves to release the pressure from the system slowly.
- Disconnect the pump: Disconnect the outlet hose from the PPR system. Drain any remaining water from the pump according to the manufacturer’s instructions.
Remember to always follow the specific guidelines provided by the manufacturer of your PPR pressure test pump for safe and proper usage.