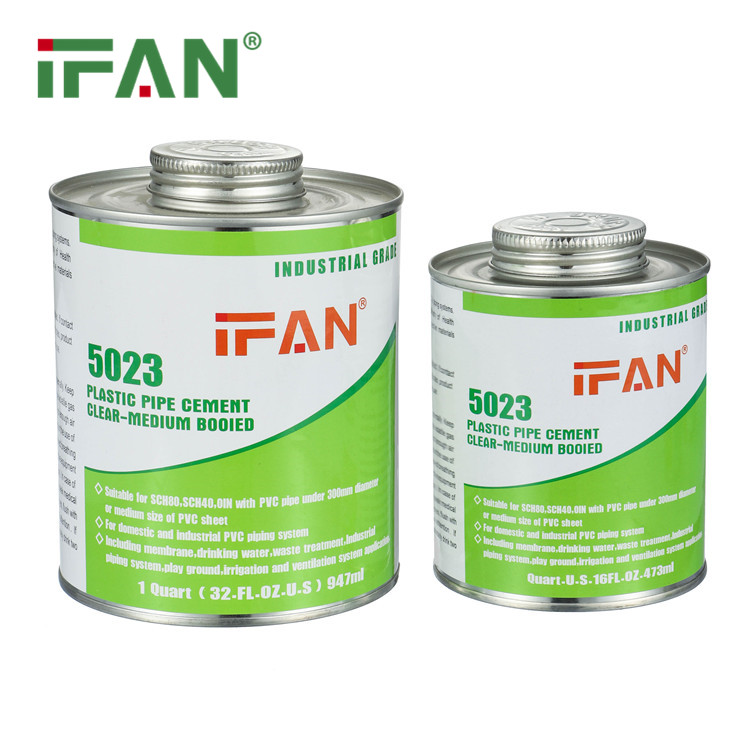
How to Apply PVC Glue
To apply PVC glue, follow these steps:
- Preparation: Ensure that the surfaces you plan to glue are clean and free of dirt, debris, and moisture. You can use a cleaner specifically designed for PVC pipes if necessary.
- Cut and fit: Cut your PVC pipe or fitting to the desired length and dry-fit them together to ensure a proper fit.
- Apply primer (optional): Using a clean cloth or brush, apply a PVC primer to the outside of the pipe and the inside of the fitting. The primer helps to clean and prepare the surfaces for better adhesion. Note that not all PVC glues require the use of a primer, so check the instructions on your specific glue.
- Apply glue: Once the primer has dried (if used), apply PVC glue to both the outside of the pipe and the inside of the fitting. Use a brush or applicator that comes with the glue to ensure an even coat. Apply enough glue to cover the entire surface area that will make contact.
- Joining the pieces: Immediately after applying the glue, quickly insert the pipe into the fitting while twisting slightly. This helps to spread the glue evenly and create a strong bond.
- Hold in place: Hold the glued joint firmly in place for a few seconds to allow the bond to set. Avoid any movement or twisting that could weaken the connection.
- Wipe off excess glue: Use a clean cloth or rag to wipe off any excess glue that may have squeezed out from the joint. It’s easier to remove while it’s still wet.
- Cure time: Allow sufficient curing time for the glue to fully set and cure. This typically takes several hours, but refer to the manufacturer’s instructions for the recommended curing time for the specific glue you’re using.
Remember to always follow the instructions provided by the manufacturer of the PVC glue you’re using, as different brands may have variations in application methods and curing times.