A Comprehensive Guide to Installing PPR Elbows
Introduction
PPR (Polypropylene Random Copolymer) elbows are an essential component in plumbing systems, commonly used for changing the direction of water flow. Whether you are a professional plumber or a DIY enthusiast, this comprehensive guide will provide you with step-by-step instructions on how to install PPR elbows effectively and efficiently.
- Understanding PPR Elbows
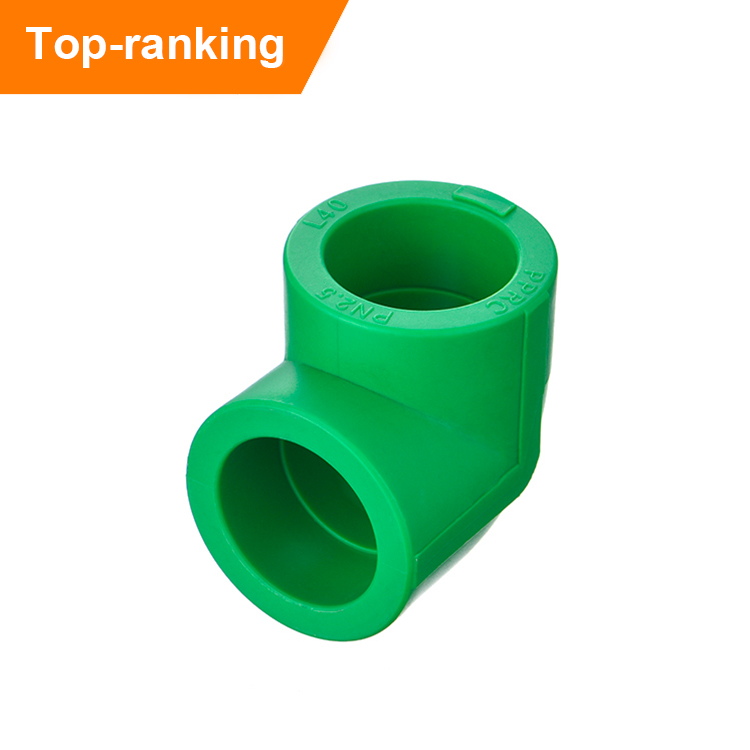
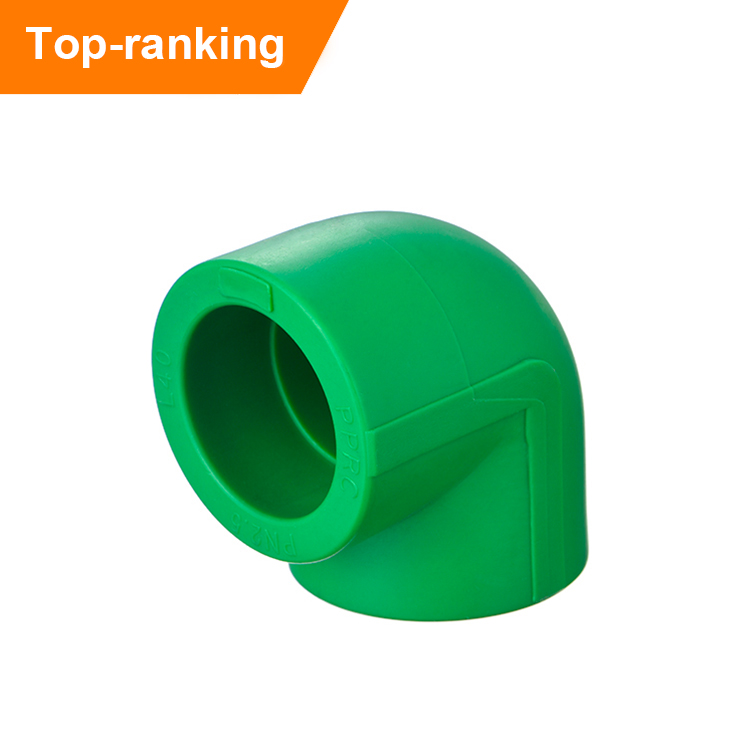
Before diving into the installation process, it’s vital to have a clear understanding of PPR elbows. PPR elbows are made of durable polypropylene material, known for its high resistance to heat, corrosion, and chemical damage. They come in various sizes and angles to accommodate different plumbing configurations.
- Gather the Necessary Tools and Materials
To begin the installation process, gather the following tools and materials:
- PPR elbows (appropriate size and angle)
- PPR pipes (matching the size of the elbows)
- PPR pipe cutter or hacksaw
- Deburring tool
- PPR welding machine or PPR welding kit
- PPR welding sockets
- Measuring tape
- Marker or pencil
- Planning and Measuring
Start by planning and measuring the installation area. Determine the required angle and position of the PPR elbow in the plumbing system. Use a measuring tape to ensure accurate measurements. Mark the positions where the PPR elbows will be installed.
- Cutting and Deburring PPR Pipes
Using a PPR pipe cutter or hacksaw, cut the PPR pipes according to the measured lengths. Ensure the cuts are straight and clean. After cutting, use a deburring tool to remove any rough edges or burrs from the cut ends of the pipes. This step is crucial to ensure a proper fit and airtight connection.
- Heating PPR Pipes and Elbows
Preheat the PPR welding machine or follow the instructions provided with the PPR welding kit to prepare it for use. Insert the appropriate PPR welding socket into the machine. Heat the socket to the recommended temperature, usually specified on the PPR material.
- Fitting and Welding
Carefully insert the heated PPR elbow onto one end of the PPR pipe. Ensure that the pipe and elbow are aligned correctly. Hold the connection firmly for a few seconds to allow the melted material to bond. Repeat the process for the remaining connections. It is crucial to work efficiently while the material is still molten.
- Cooling and Testing
After completing the welding process, allow the connections to cool and solidify. Avoid any movement or disturbance during this stage to ensure a strong and secure joint. Once the connections have cooled, test for leaks by running water through the system. Inspect all the connections and fix any leaks if necessary.
Conclusion
Installing PPR elbows is a straightforward process when following the proper steps. By understanding the basics of PPR elbows, gathering the necessary tools, and carefully executing each step, you can ensure a reliable and effective plumbing system. Remember to prioritize safety and precision throughout the installation process to achieve long-lasting results.