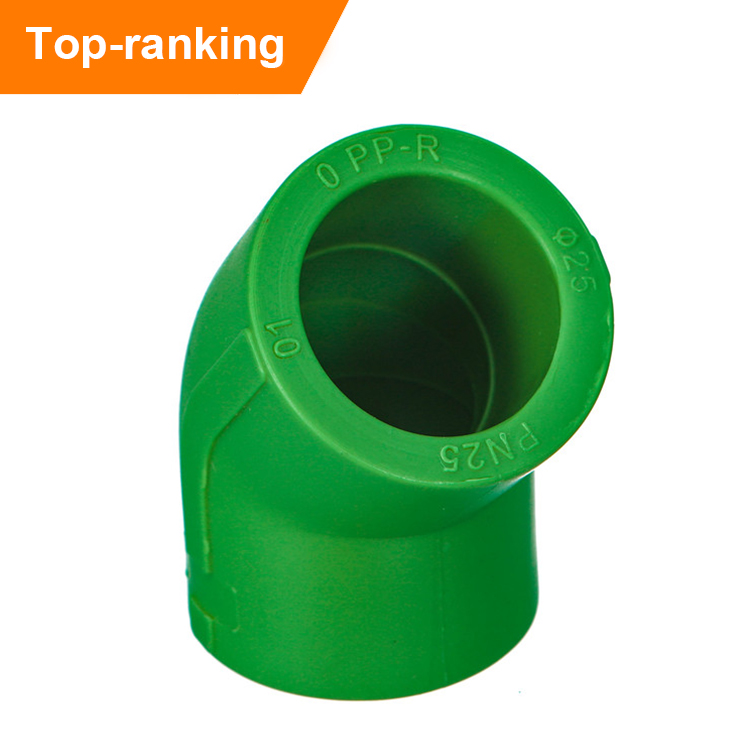
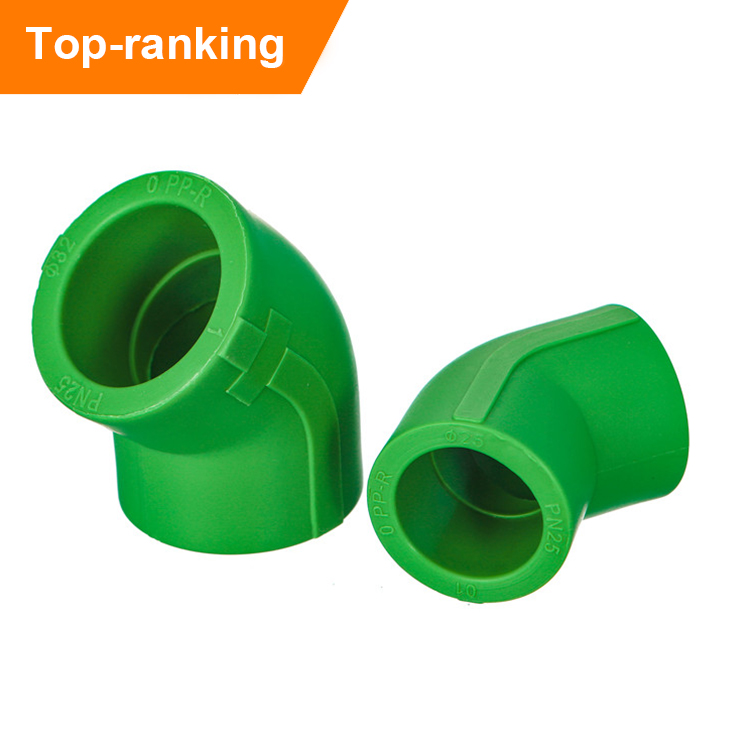
PPR Elbow Installation: Step-by-Step Guide for Beginners
Introduction
PPR (Polypropylene Random Copolymer) elbow installation is a common procedure in plumbing systems. Whether you are a beginner or have some experience in plumbing, this step-by-step guide will help you understand the process and successfully install PPR elbows.
Step 1: Gather the Required Tools and Materials
Before you start the installation process, make sure you have all the necessary tools and materials. This includes PPR elbows, PPR pipes, pipe cutter, deburring tool, PPR cement, sandpaper, and measuring tape.
Step 2: Measure and Cut the PPR Pipe
Measure the required length of the PPR pipe using a measuring tape. Mark the measured length on the pipe using a marker. Carefully cut the pipe using a pipe cutter, ensuring a clean and even cut.
Step 3: Prepare the PPR Elbow and Pipe Ends
Using sandpaper, smoothen the outer surface of the PPR pipe ends. Similarly, roughen the inner surface of the PPR elbow socket. This will improve the adhesion between the PPR cement and the pipe.
Step 4: Apply PPR Cement
Apply a thin layer of PPR cement to the outer surface of the PPR pipe ends. Ensure the cement is evenly distributed and covers the entire surface.
Step 5: Insert the PPR Pipe into the Elbow Socket
Carefully insert the PPR pipe into the PPR elbow socket while twisting it slightly. Make sure the pipe goes all the way into the socket until it reaches the stop mark. This will ensure a secure and leak-free connection.
Step 6: Check and Adjust Alignment
Check the alignment of the PPR elbow and pipe to ensure they are properly aligned. If necessary, make adjustments by twisting the pipe gently until it is aligned correctly.
Step 7: Allow Time for the Cement to Dry
After installing the PPR elbow, allow sufficient time for the PPR cement to dry. The drying time may vary depending on the type of cement used, so refer to the manufacturer’s instructions for guidance.
Step 8: Test the Installation
Once the PPR cement is dry, test the installation for leaks. Turn on the water supply and observe the connection for any signs of leakage. If there are no leaks, the installation is successful.
Conclusion
Installing PPR elbows is a straightforward process that can be accomplished by beginners with the right tools and materials. By following this step-by-step guide, you can ensure a secure and professional installation of PPR elbows in your plumbing system. Always remember to prioritize safety and consult professional help if needed.