The Easy Installation Process of PPR Fittings for Your Plumbing Network
PPR (polypropylene random) pipes and fittings are becoming more and more popular in various plumbing applications, ranging from residential to industrial and commercial sectors. One of the primary reasons for their growing popularity is their easy installation process. Unlike other traditional plumbing systems, PPR fittings require minimal tools, expertise, and time to install. In this article, we will explore the easy installation process of PPR fittings for your plumbing network.
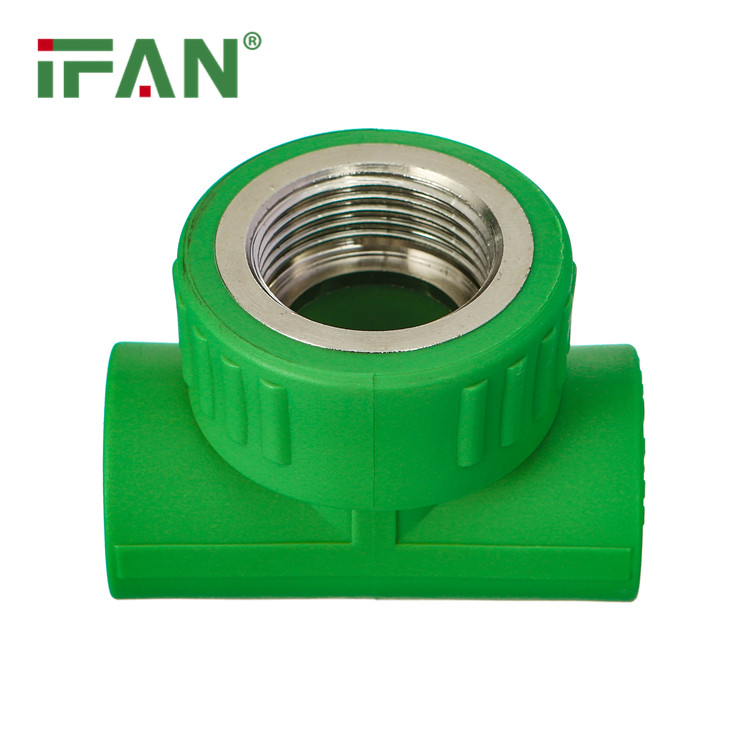
First and foremost, PPR fittings are designed with a range of connection methods, including welding, fusion, compression, and threading. Welding and fusion are the most common methods used for joining the pipes and fittings. They use a heating tool to melt and fuse the end of the PPR pipe with the fitting. This creates a strong and leak-proof connection, ensuring a reliable plumbing network that will last for many years.
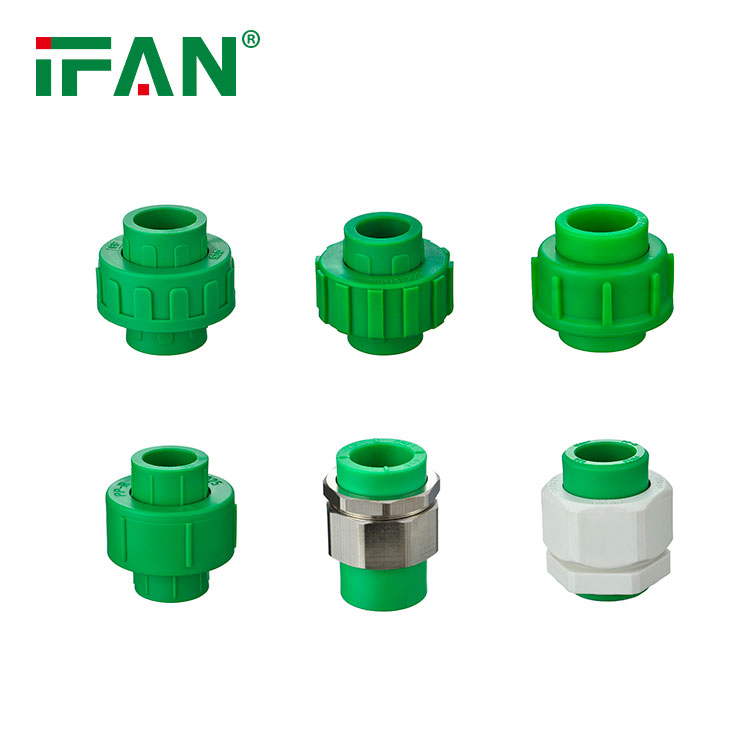
Compression and threading are equally effective methods used for joining PPR pipes and fittings. Compression fitting works by joining two ends of PPR pipe together with a compression nut. The nut compresses the O-ring seal, creating a tight and secure fit. Threading is achieved using a threaded coupler, which is screwed onto the end of PPR pipe and tightened with a wrench. This creates a durable connection that is leak-free and long-lasting.
The installation process of PPR fittings is straightforward and can be done by a DIY enthusiast or a professional plumber. Once you have selected your preferred connection method, the first step is to measure and cut the PPR pipe to the required length. You can use a PPR pipe cutter or a saw to do this, depending on the size of the pipe. It’s important to ensure that the cut is straight for a secure fit.
Next, chamfer the end of the PPR pipe using a chamfering tool. This will ensure that the PPR pipe fits snugly into the fitting and creates a tight seal. Then, install the PPR fitting onto the PPR pipe end, making sure that it’s aligned correctly with the pipe. If you’re using welding or fusion method, heat the end of the pipe and the fitting with a heating tool, then connect them together. If you’re using compression or threading method, tighten the nut or the coupler to the right torque setting.
Once installed, allow the PPR fittings to cool down for a few minutes before testing for any leaks. A simple leak test can be done by closing the valves and applying pressure to the plumbing network. Check for any signs of leakages from the joints or connection points. If the system is leak-free, you can proceed to use it normally.
In conclusion, PPR fittings offer an easy installation process that requires minimal tools, expertise, and time. They provide a reliable and durable plumbing network that is leak-free and long-lasting. Whether you’re a DIY enthusiast or a professional plumber, installing PPR fittings is a simple and straightforward process that can be completed in just a few steps.